Customized subdomains and domains make it easy for parents and students to find and remember the links to your fundraising pages. All of our platform users can customize their subdomain and their domain as well:
donate.theprom.us
donate - is the subdomain
theprom.us - is the domain
Your customized domain and/or subdomain will apply to all your public-facing pages, including your fundraising Experiences and Donation Pages.
Customize Your Subdomain (all users)
- Select Branding from the left menu:
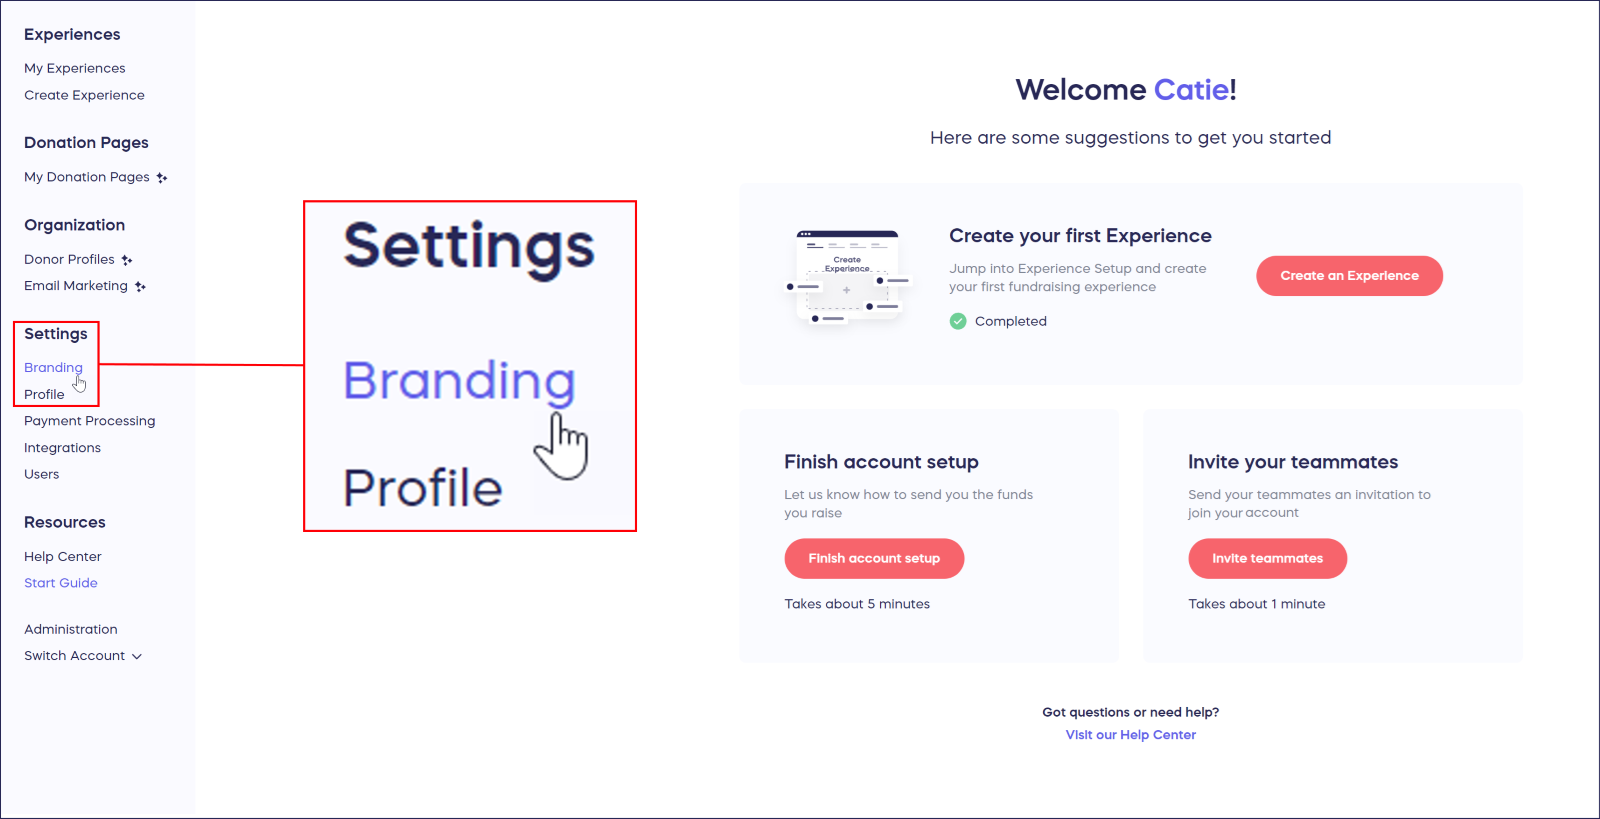
- Go to Customize the domain for your account, and select Use a subdomain of TheProm.Us:
- Enter your desired subdomain into the text box under Create a subdomain. We recommend using one word that relates to your cause and will be easy for donors to remember.
- If your desired subdomain isn’t available, try another until you find one that is available.
- Once you’ve selected an available subdomain, select Save at the bottom of the page. Your subdomain will now appear for all public-facing pages.
Customize Your Domain
Before You Begin
Ensure that you already own a domain name and have access to your domain provider’s management portal. Our platform doesn’t sell domain names, but you can buy one from any domain provider you like. Common domain providers include but aren’t limited to:
- Select Branding from the left menu:

- Go to Customize the domain for your account, and select Use a custom domain that you already own:
- Enter a subdomain you’d like to use for your account (i.e., [myschool].theprom.us).
-
Add a CNAME Record
Once you have a registered domain, you’ll need to add a CNAME record to your domain’s DNS records. Here’s how:- Go to the DNS record section of the portal through which you registered your custom domain in step 2 (i.e., GoDaddy, WordPress, etc.).
- Choose to add a new record to your DNS settings, and select CNAME as the record type.
- In the host field, enter a subdomain of your domain. For example, if the domain you registered back in step 2 is myschool.com, you can enter donate.myschool.com for the host, where “donate” can be any word you choose (e.g., “support,” “give,” “go,” etc.).
- For the destination field, enter the Subdomain you created in step 1
-
Enter your new custom domain in our platform
Once your new custom domain name (CNAME) is created and registered, return to Branding on the left menu. Enter your new custom domain here, then click SAVE to verify it.
Make sure to scroll down to the bottom of the page and click SAVE one more time.
Lastly, secure your custom domain with SSL
The final step of your custom domain setup is to secure the domain by installing an SSL Certificate. This step ensures your custom domain will show up as secure on browsers like Google Chrome, Firefox, and Safari. Without this last step, people who visit your pages will likely get a security error message, which could prevent them from accessing your pages.
You’ll need our help with this last step. Contact us when you’re ready by clicking the message icon in the bottom right of the screen or email success@theprom.us. We’ll be happy to assist you in finishing this process.
Good To Know
You can’t set up a base domain (e.g., “myorganization.org”) or the “www” subdomain (e.g., “www.myschool.org”) as the custom domain for your organization. Your experience URL will be similar to “donate.myorganization.org/my-experience-page.”