We offer multiple ways to customize Event tickets. You can sell individual tickets, packages that include multiple tickets in a single purchase, or both.
Customization Options
Terminology
You can call your tickets and packages whatever you like. Examples include:
- Admission, Guest Admission
- Registration
- Entry
- Passes
- Seats
- Tables
- Teams
- Groups
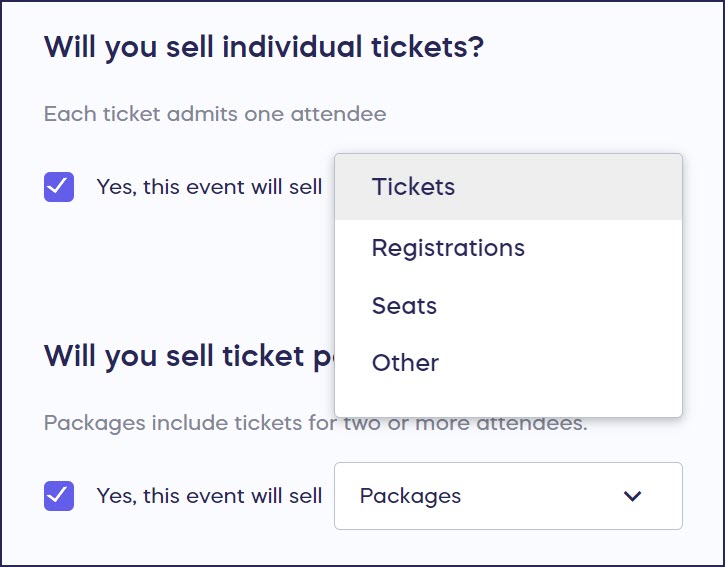
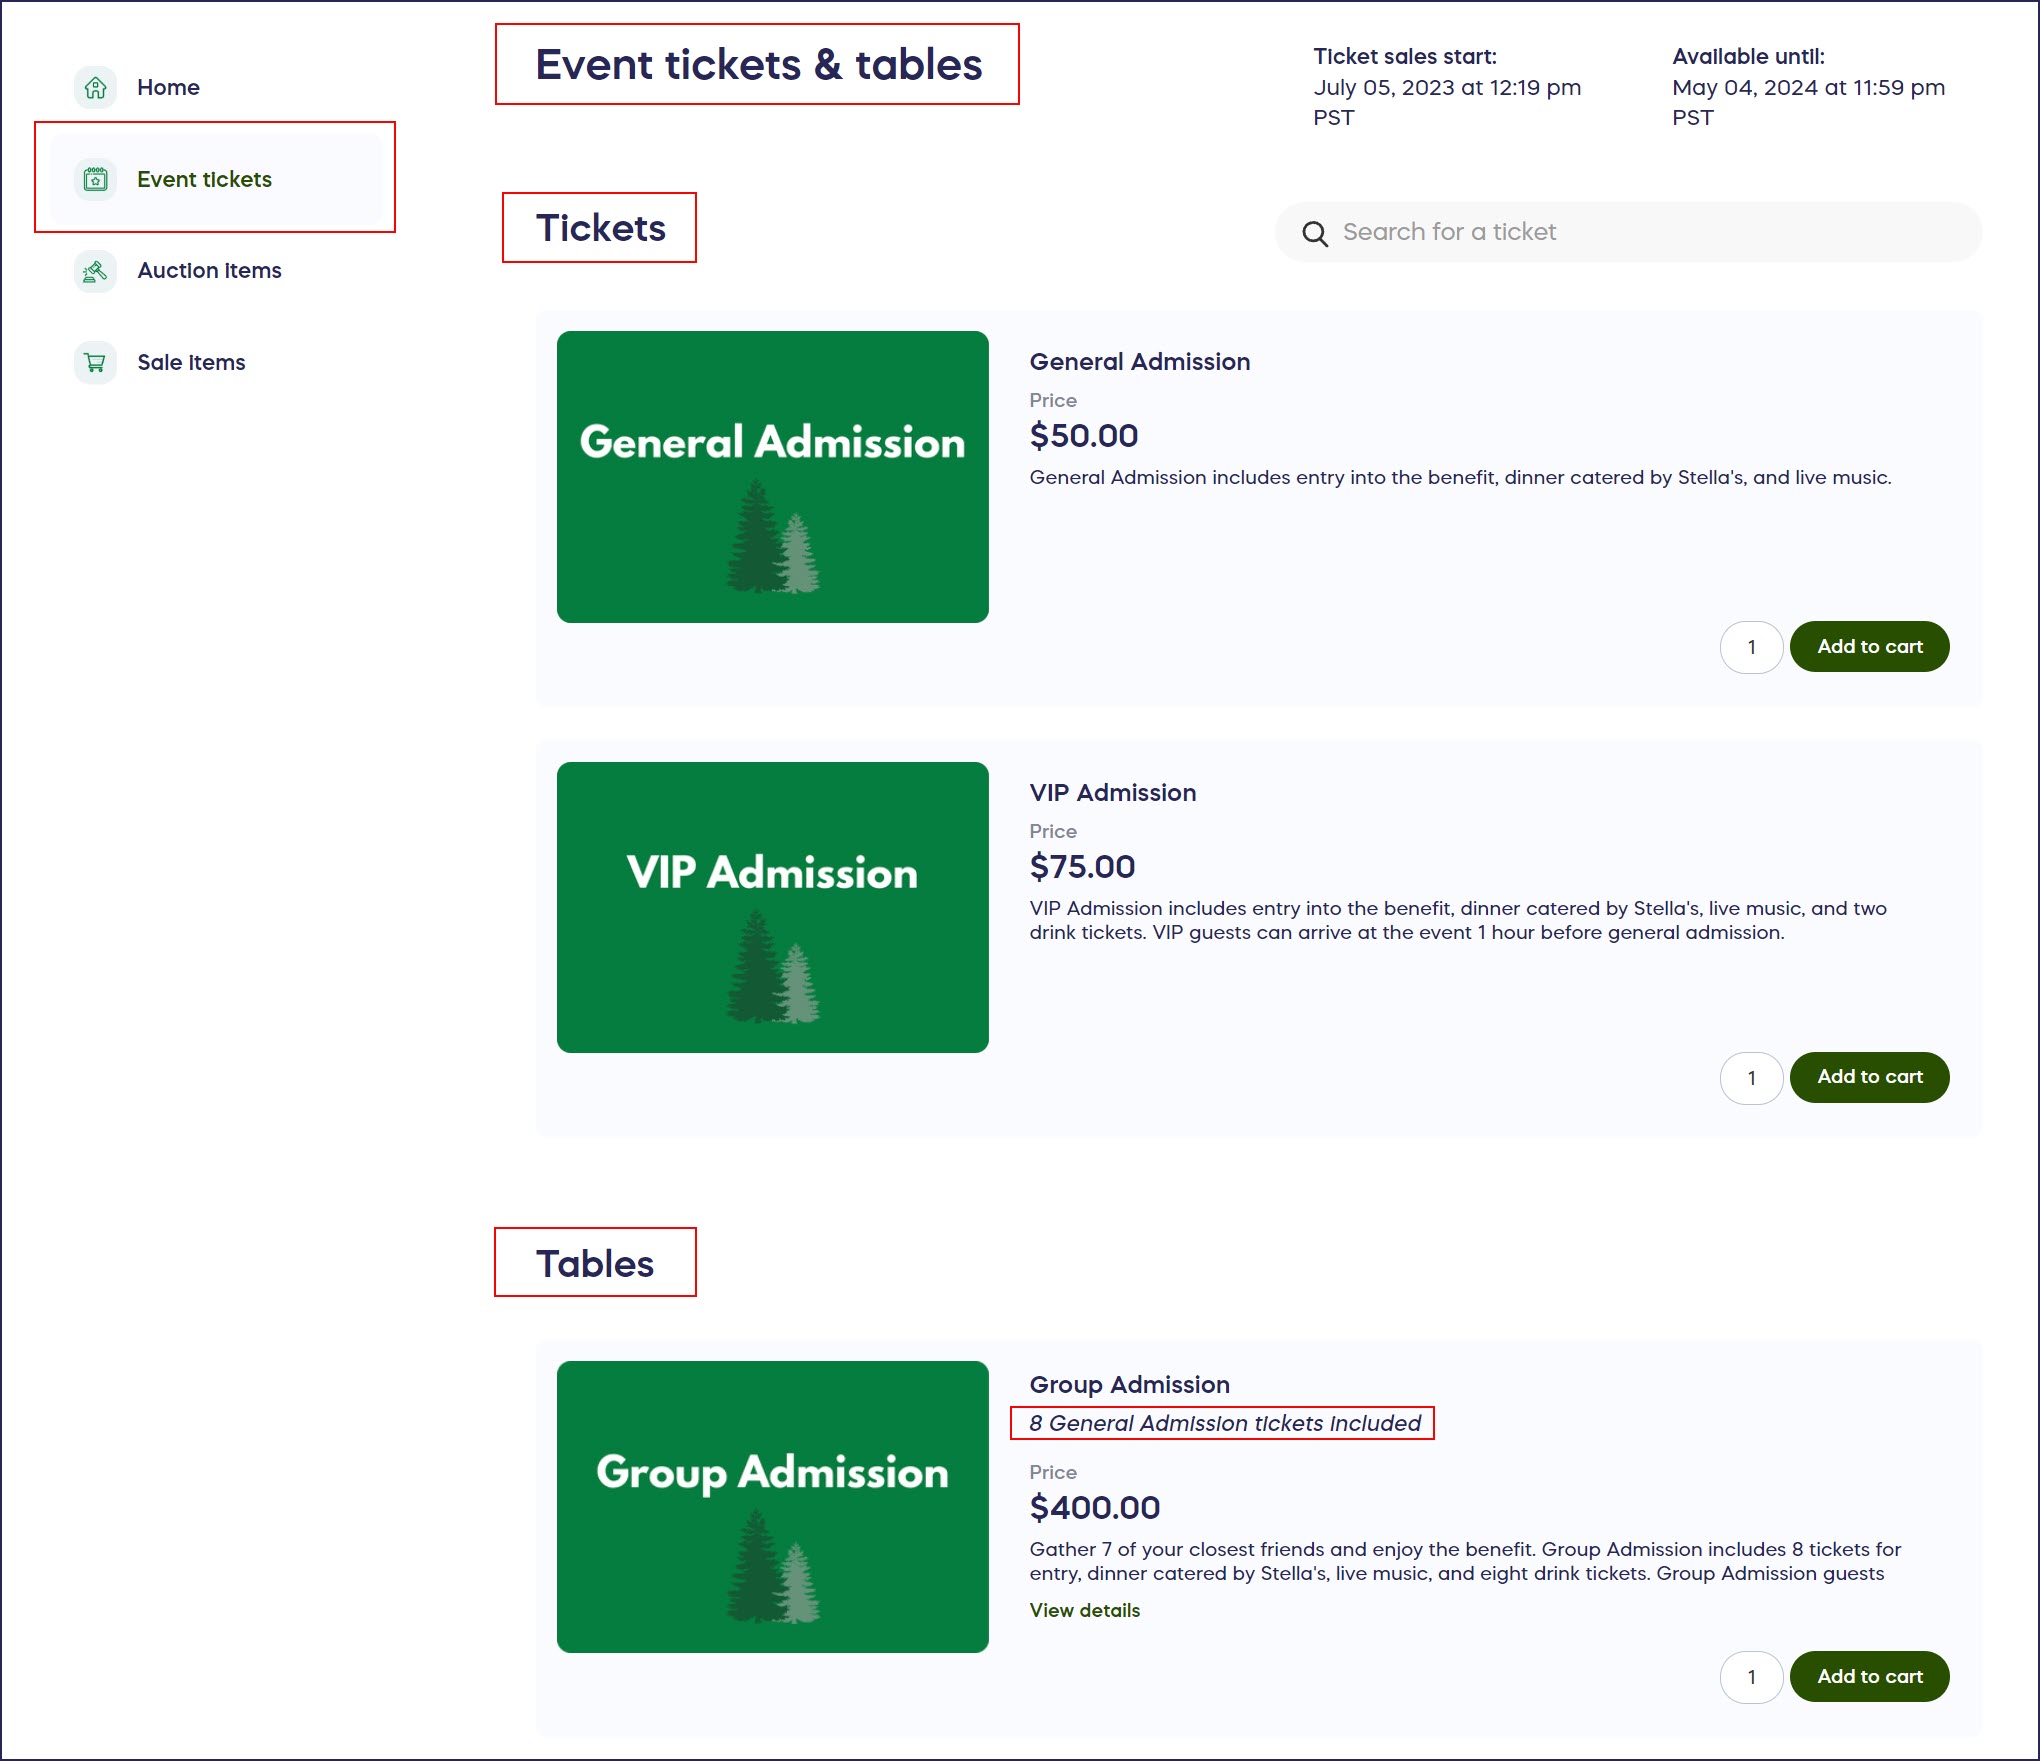
The terminology you select will display throughout your Experience Page, including buttons and menu items:
Multiple Images
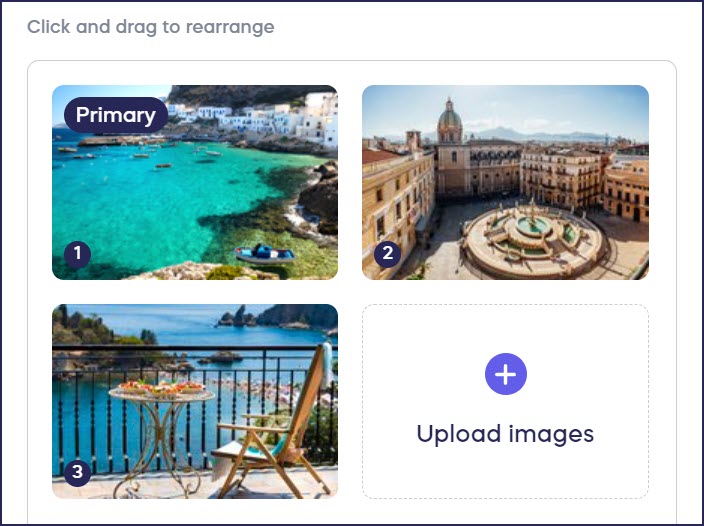
Add multiple images to each ticket or package option to:
- Enhance their visual appeal
- Show everything included in the purchase, such as favors, merch or VIP extras
Limited Time
Use time limits to:
- Offer early bird tickets and packages at a discounted price
- Wait to display certain tickets or packages till a specific date
- Encourage students or parents to purchase tickets quickly before the time limit runs out
Note that once the time limit has expired, the tickets or packages will automatically be removed from your Experience Page.
Limited Quantity
Use quantity limits to:
- Make your Event appear exclusive
- Encourage students or parents to purchase their tickets and packages early, so they don’t miss out
- Enforce your venue's occupancy limit
- Offer a select number of tickets and packages

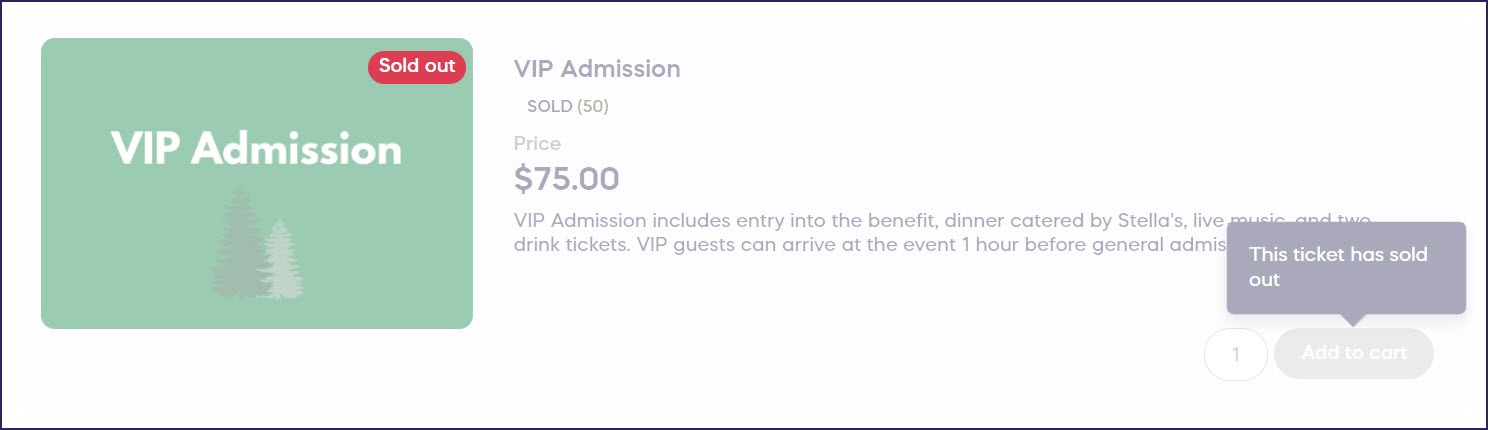
Note that once the quantity limit has been reached, the tickets or packages will still be visible on your Experience Page, but the purchase option will no longer be enabled:
Custom Fields
Custom fields allow you to collect information from attendees. You can collect the same information from all attendees, add unique custom fields to each ticket or package option, and make each field either required or optional. Use custom fields to:
- Collect student ID numbers that can be downloaded and verified
- Collect class (Junior/Senior, etc.) and/or homeroom information
- Require purchasers to agree to terms and conditions or link to a permission slip
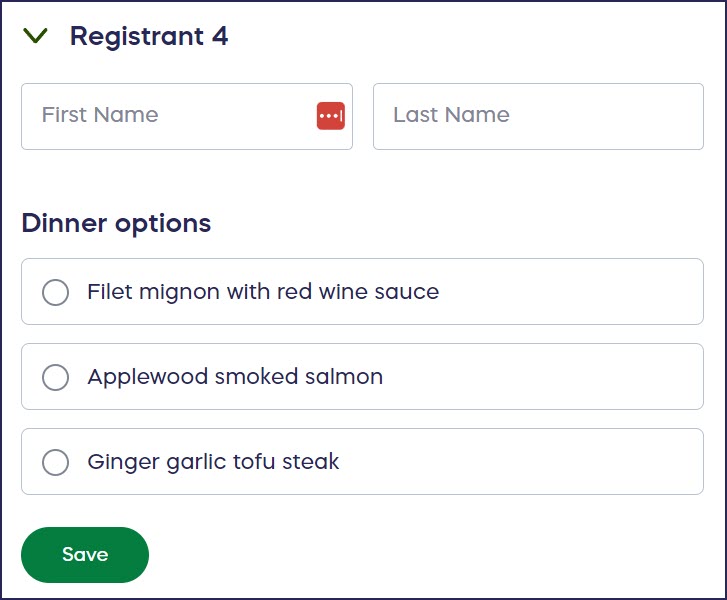
- Collect other data such as gender, dietary restrictions or preferences, etc.:
Create a Ticket
We have many Ticketing templates you can use for your event. If you select a template, all ticketing features will be enabled and you can customize your ticket and site images, choose to add crowdfunding and/or sponsors or other fundraising features, and publish in just minutes.
Another option is to create your own Ticketing Experience. Here are the steps:
- Select Experiences from the left menu.
- If you have chosen a list view, click on the Experience title. If you have chosen a grid view, click on the Experience image.
- Select Edit Experience.
- Go to Ticketing in the timeline at the top.
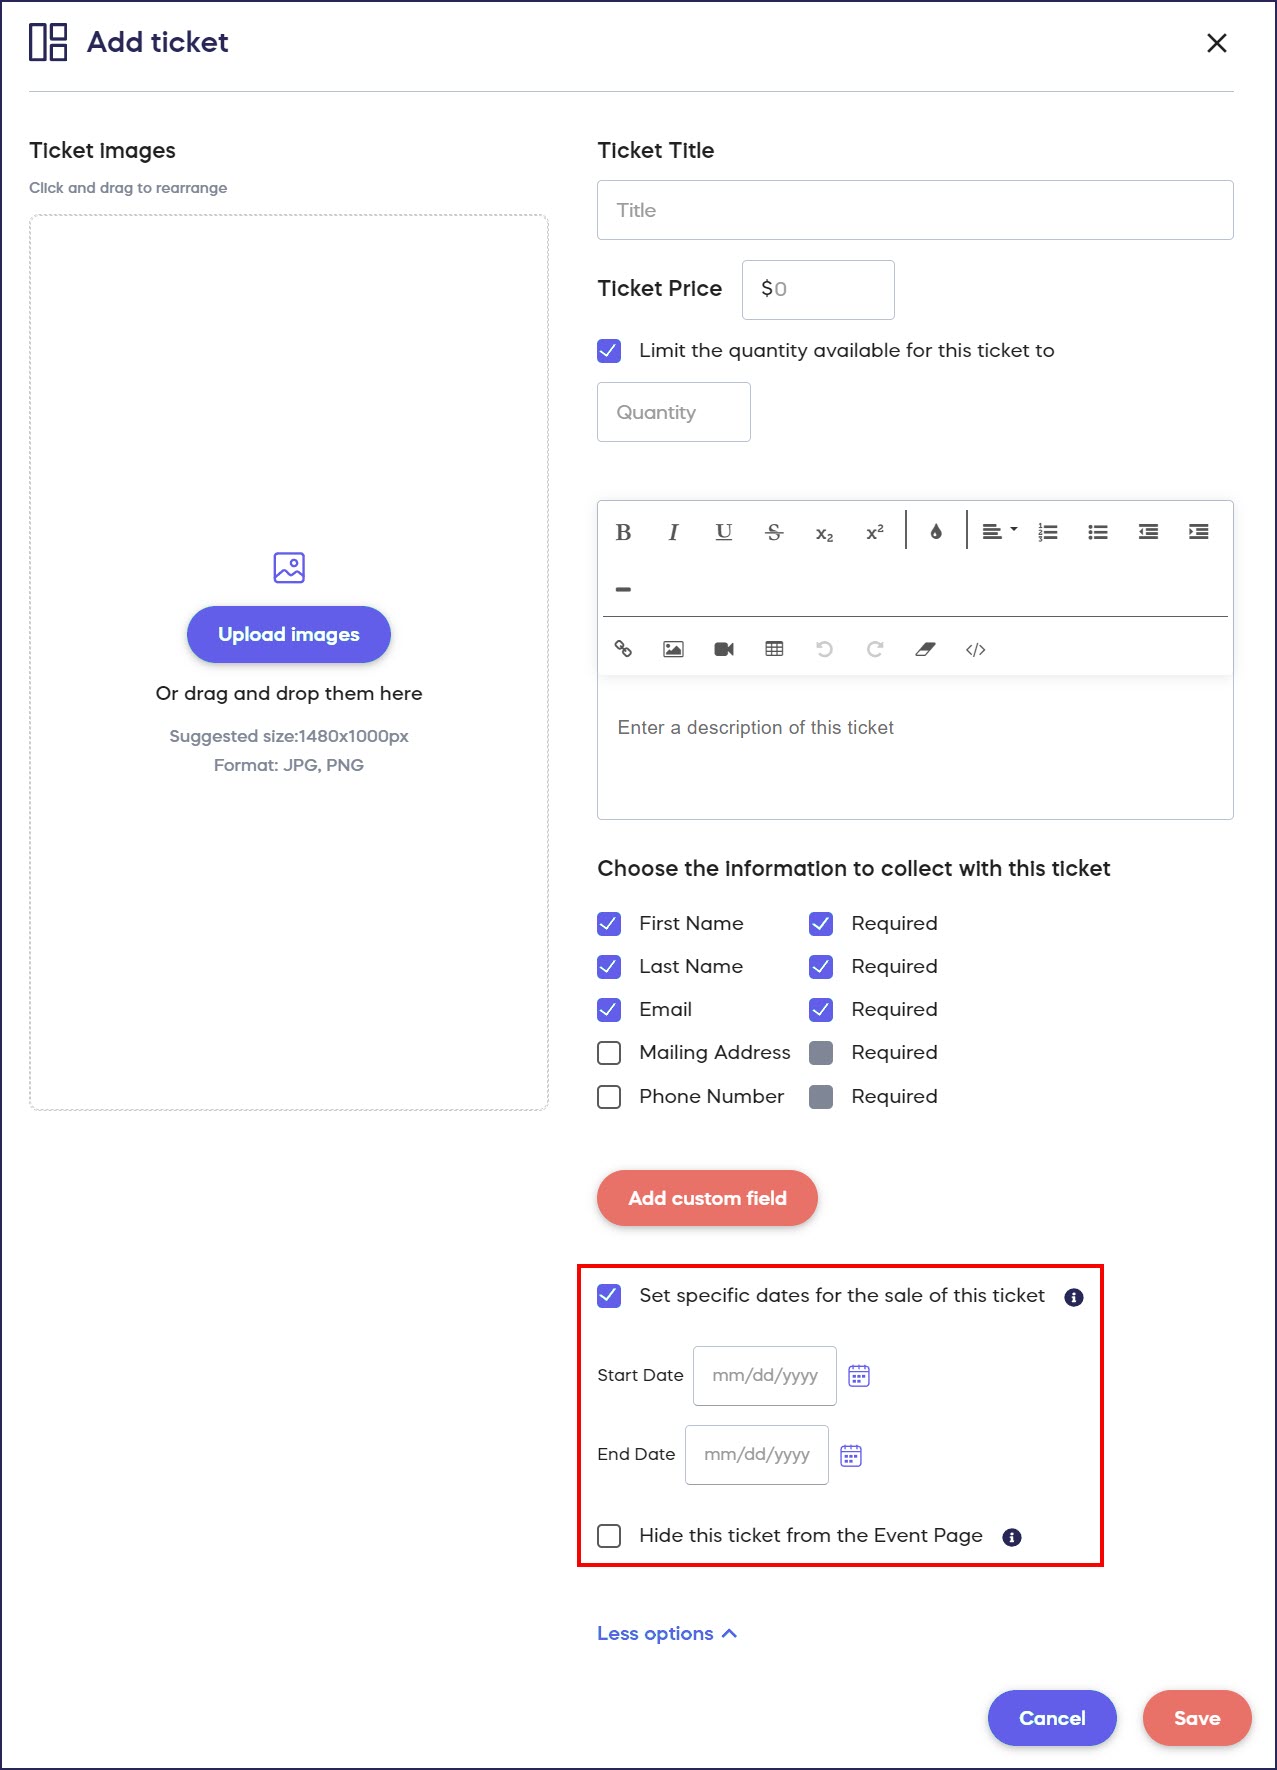
- Scroll down to Add tickets* and select Create a ticket*.
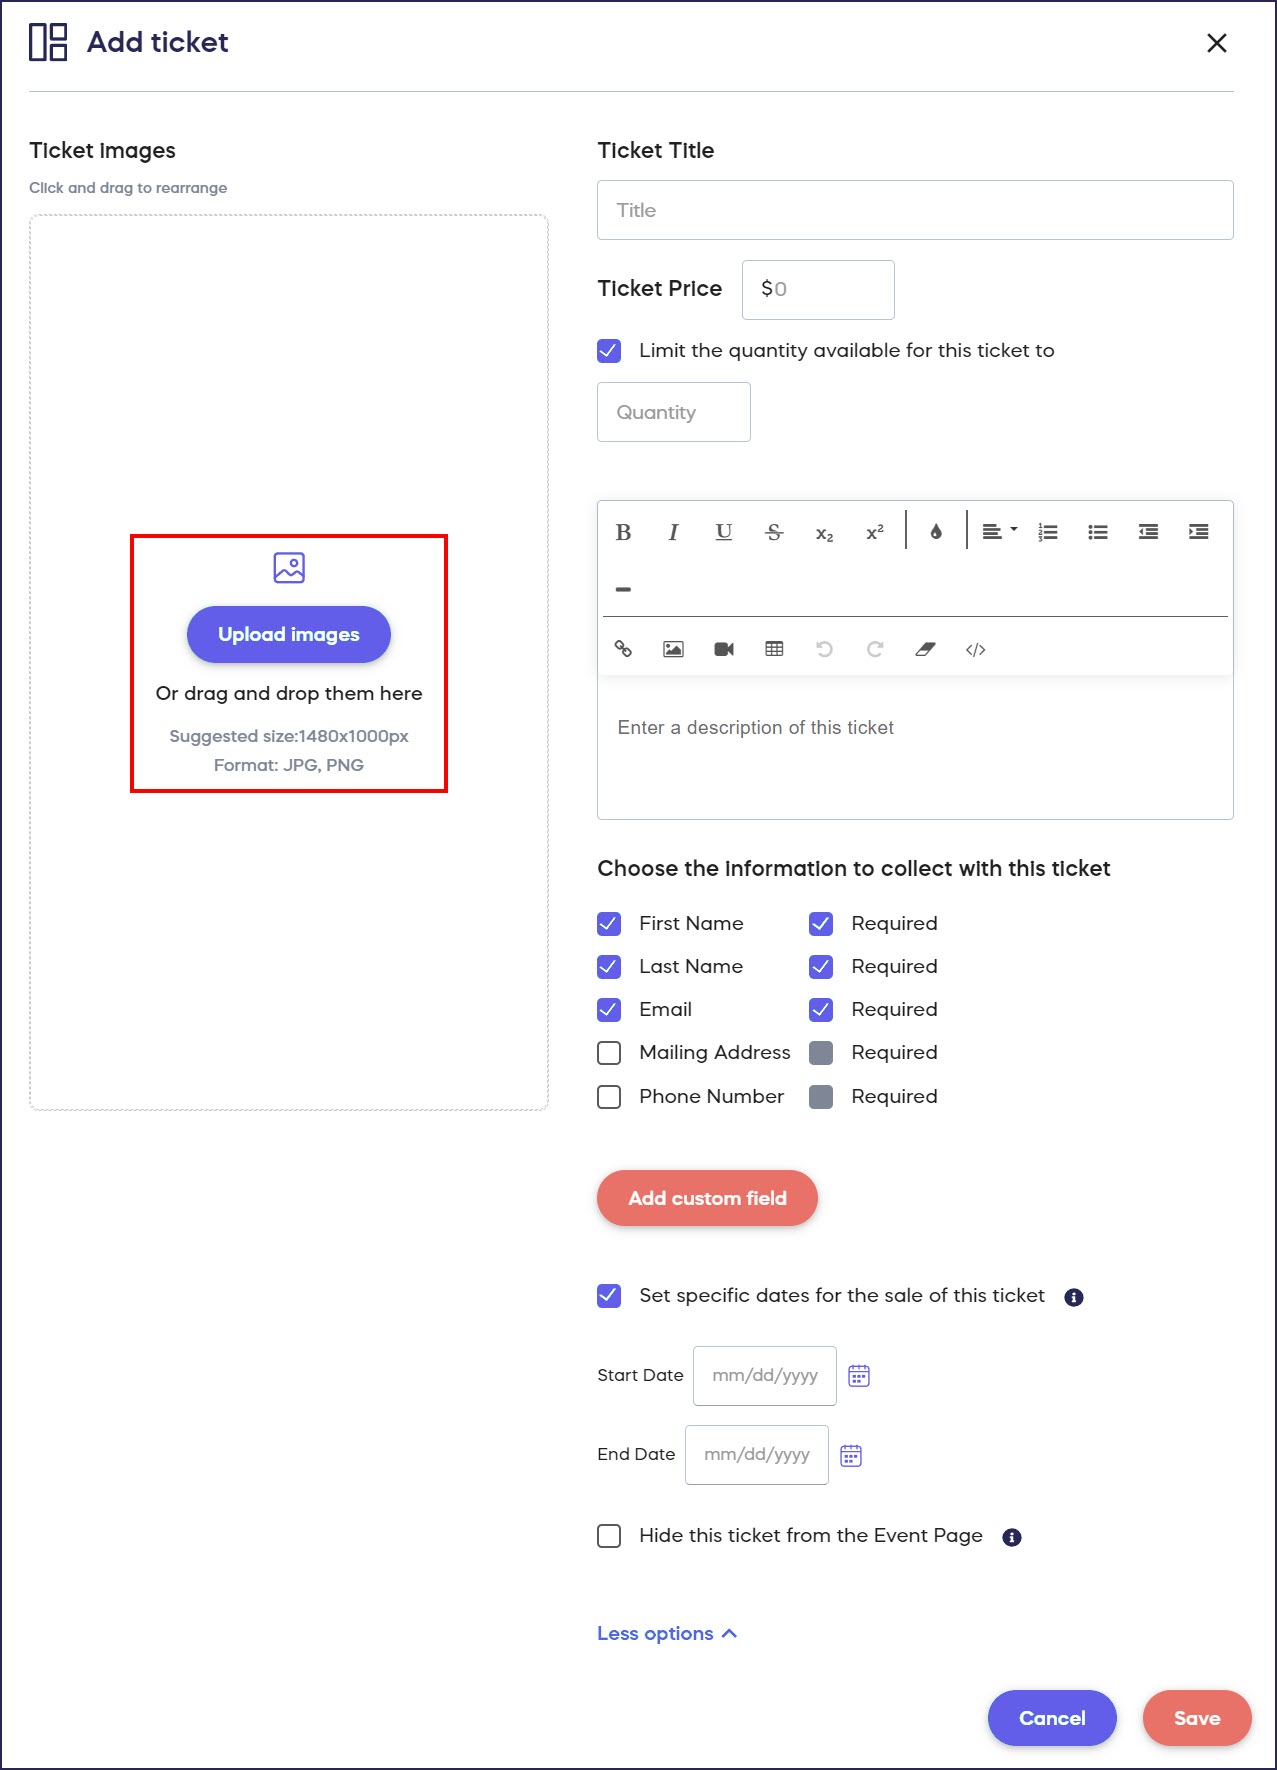
- To add multiple images, click on Upload images on the left and select your desired images:
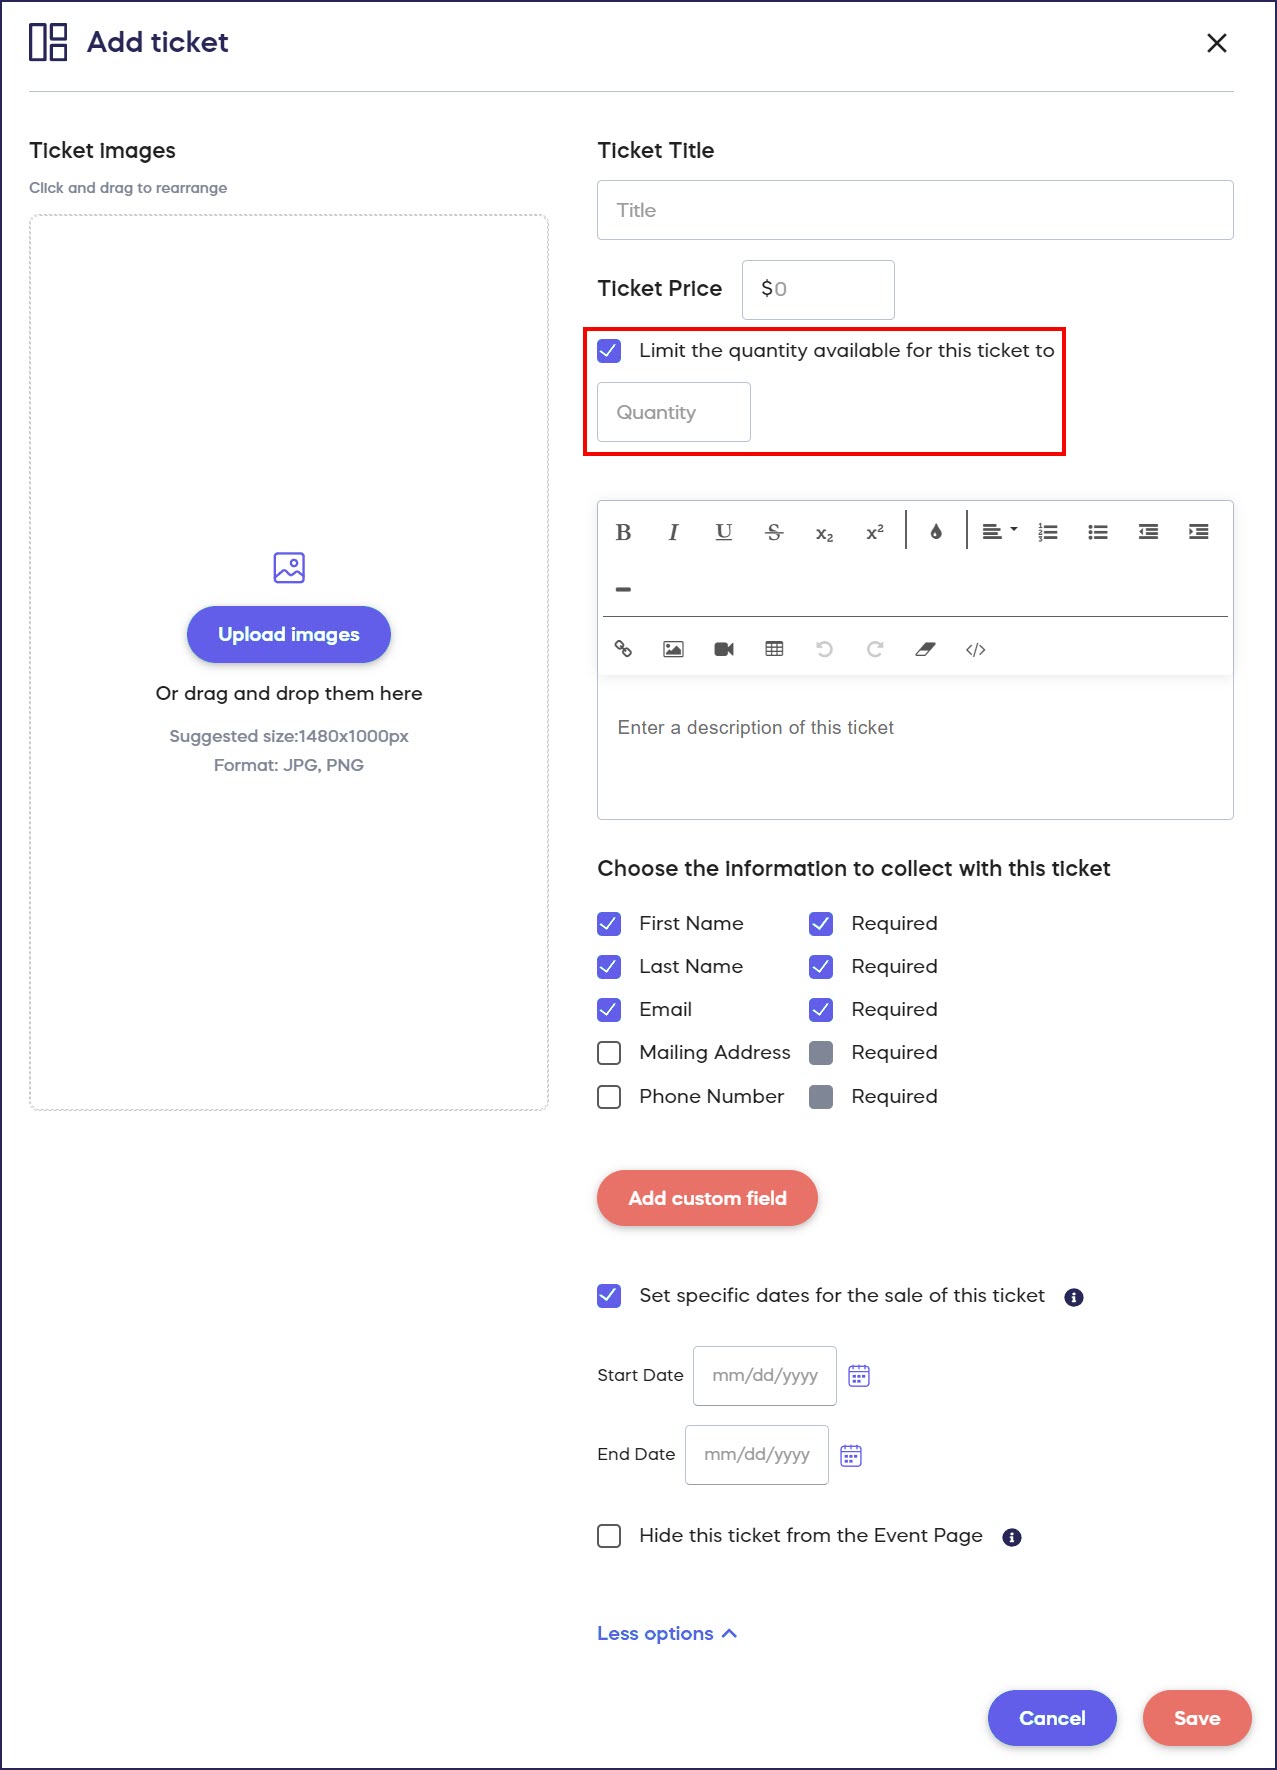
- To set a quantity limit, check the box next to Limit the quantity available for this ticket* and enter the number available:
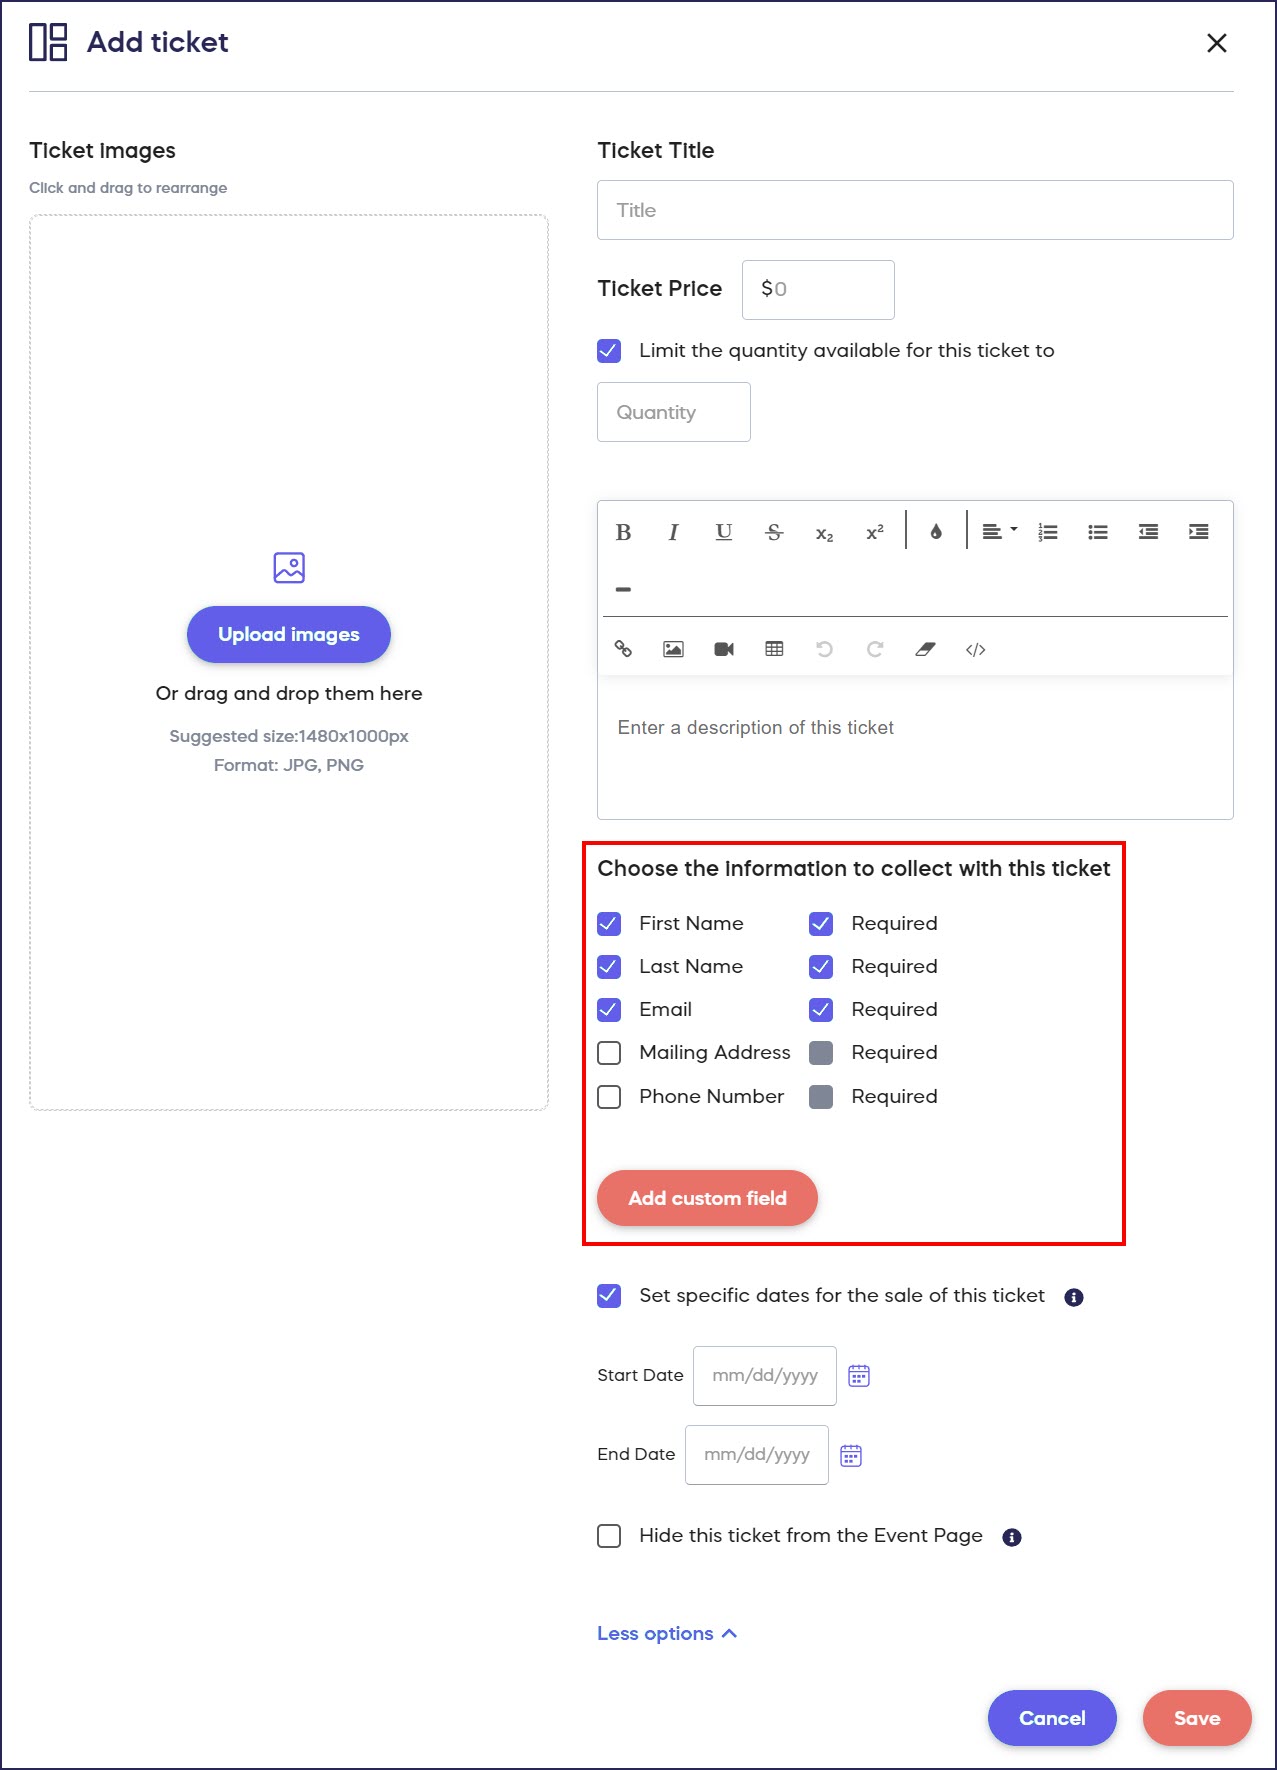
- To add a custom field, scroll down to Choose the information to collect for this ticket* and select Add custom field:
- To set a time limit, click on More Options, check the box next to Set specific dates for the sale of this ticket*, and choose the dates:
- Select SAVE.
Create a Package
- Select Experiences from the left menu.
- If you have chosen a list view, click on the Experience title. If you have chosen a grid view, click on the Experience image.
- Select Edit Experience.
- Go to Ticketing in the timeline at the top.
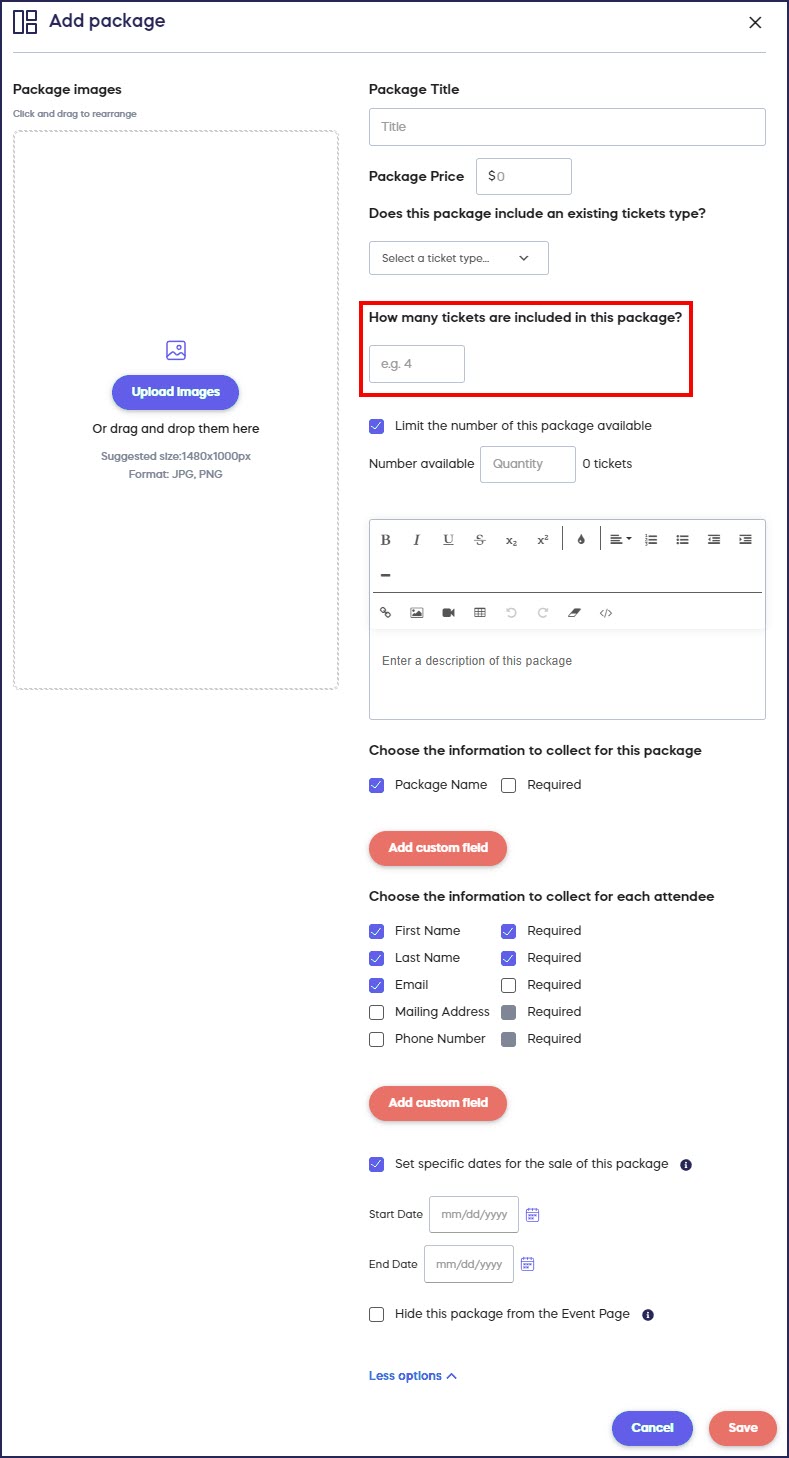
- Scroll down to Add packages* and select Create a package*.
- If a package includes an existing ticket type (e.g., if a Table includes 4 Seats), go to Does this package include an existing ticket type? and select the ticket type in question:
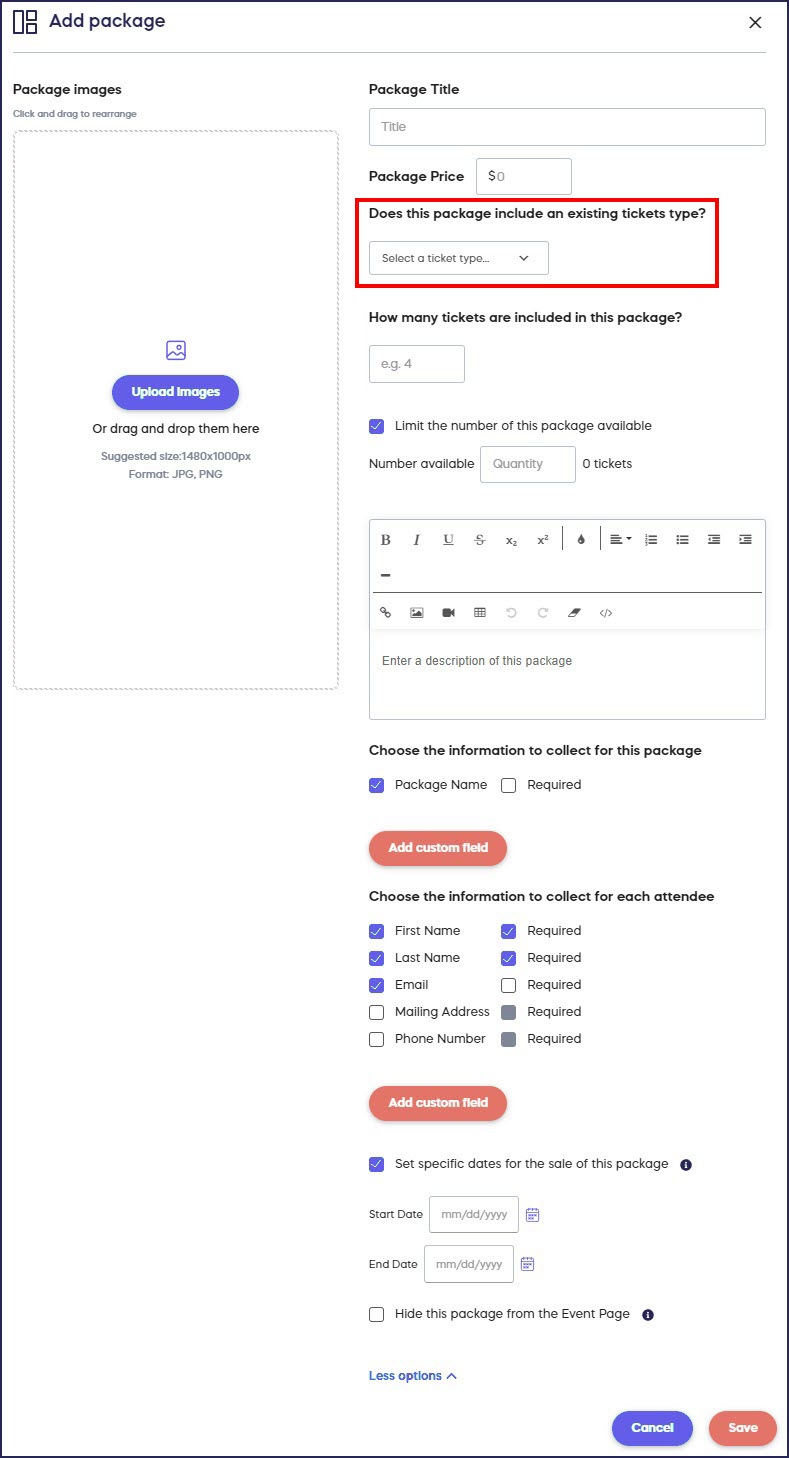
This will ensure that packages are included when the system calculates how many tickets have been purchased.
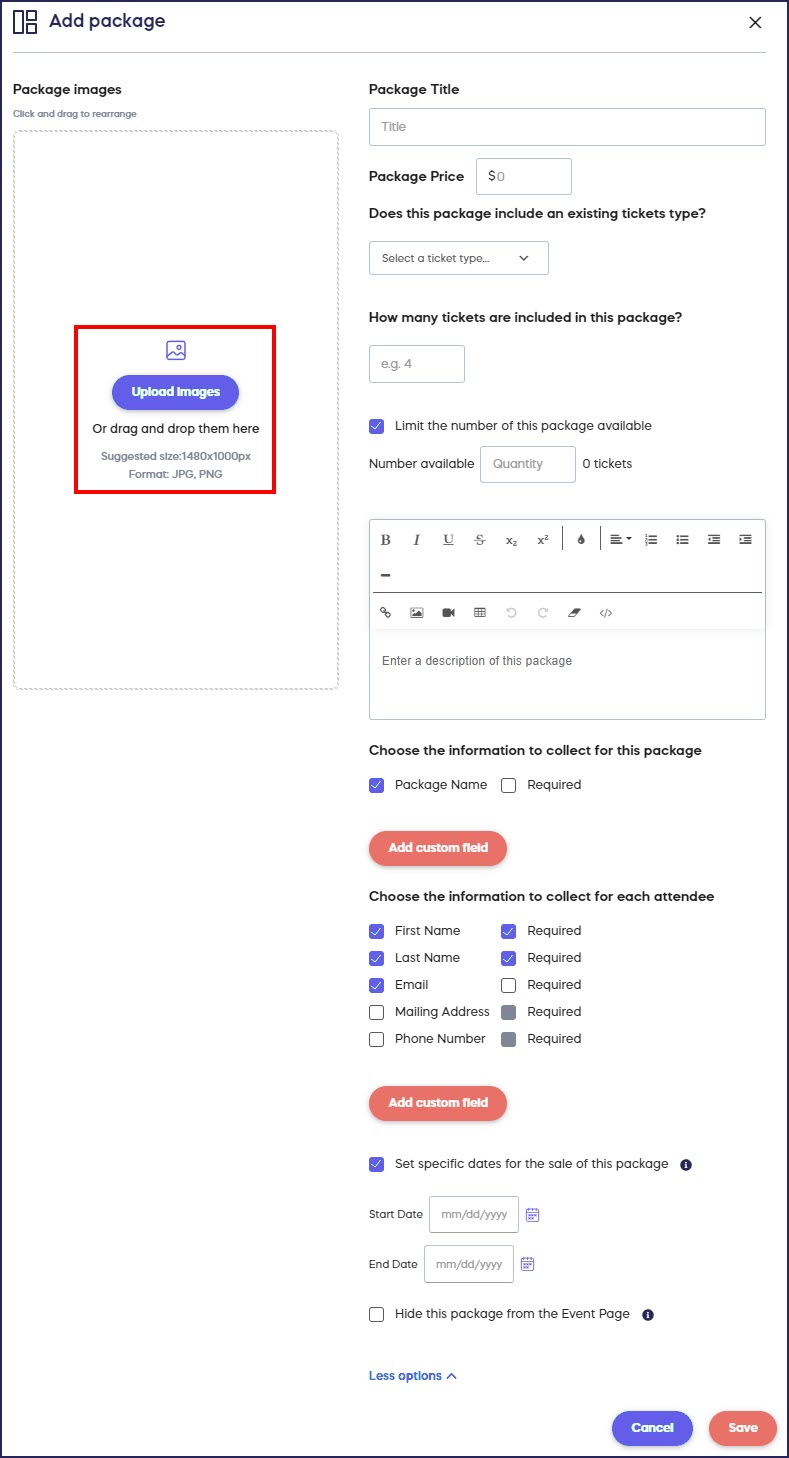
- To add multiple images, click on Upload images on the left and select your desired images:
- To set a quantity limit, check the box next to Limit the quantity available for this package* and enter the number available:
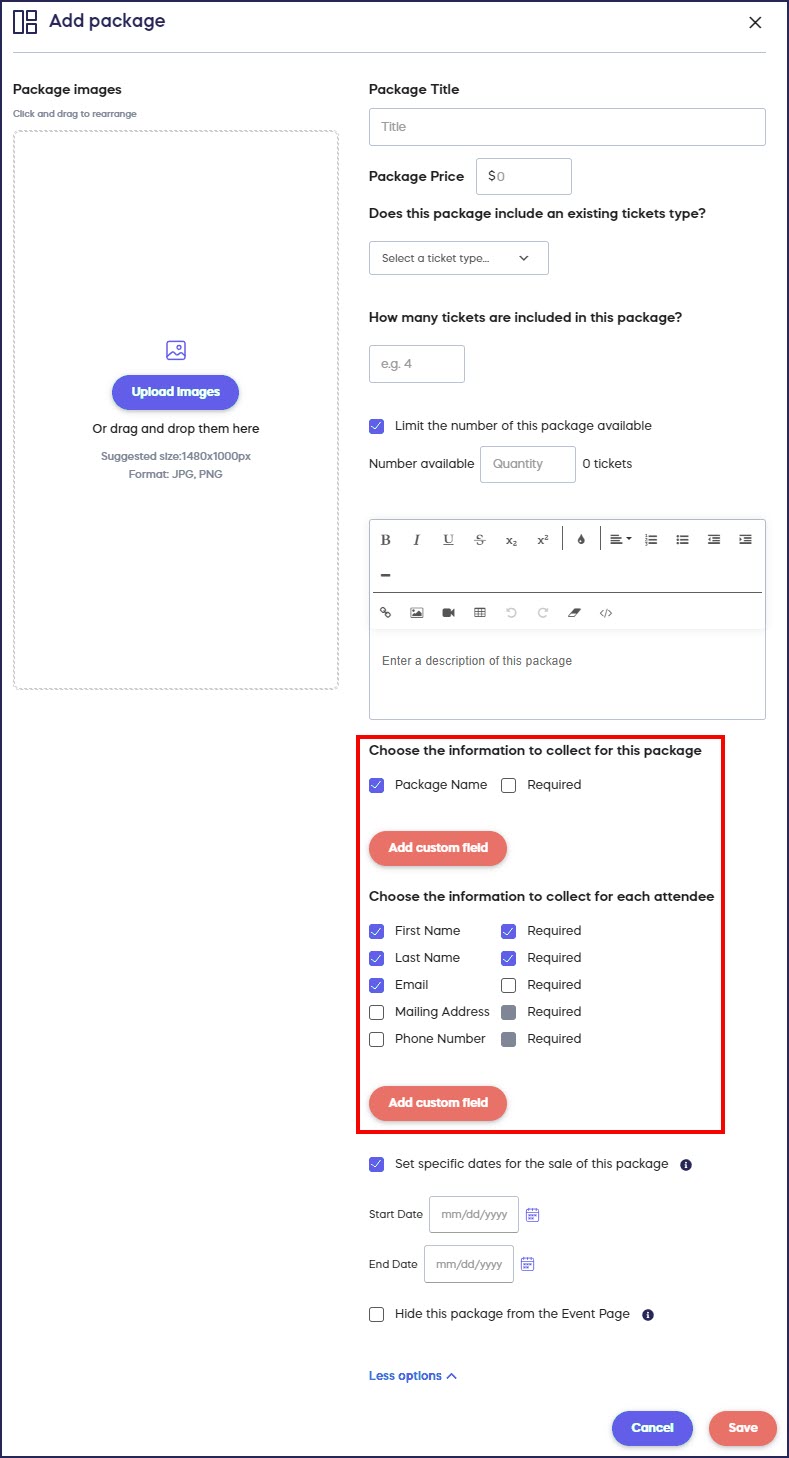
- To add a custom field, scroll down to Choose the information to collect for this package* and select Add custom field:
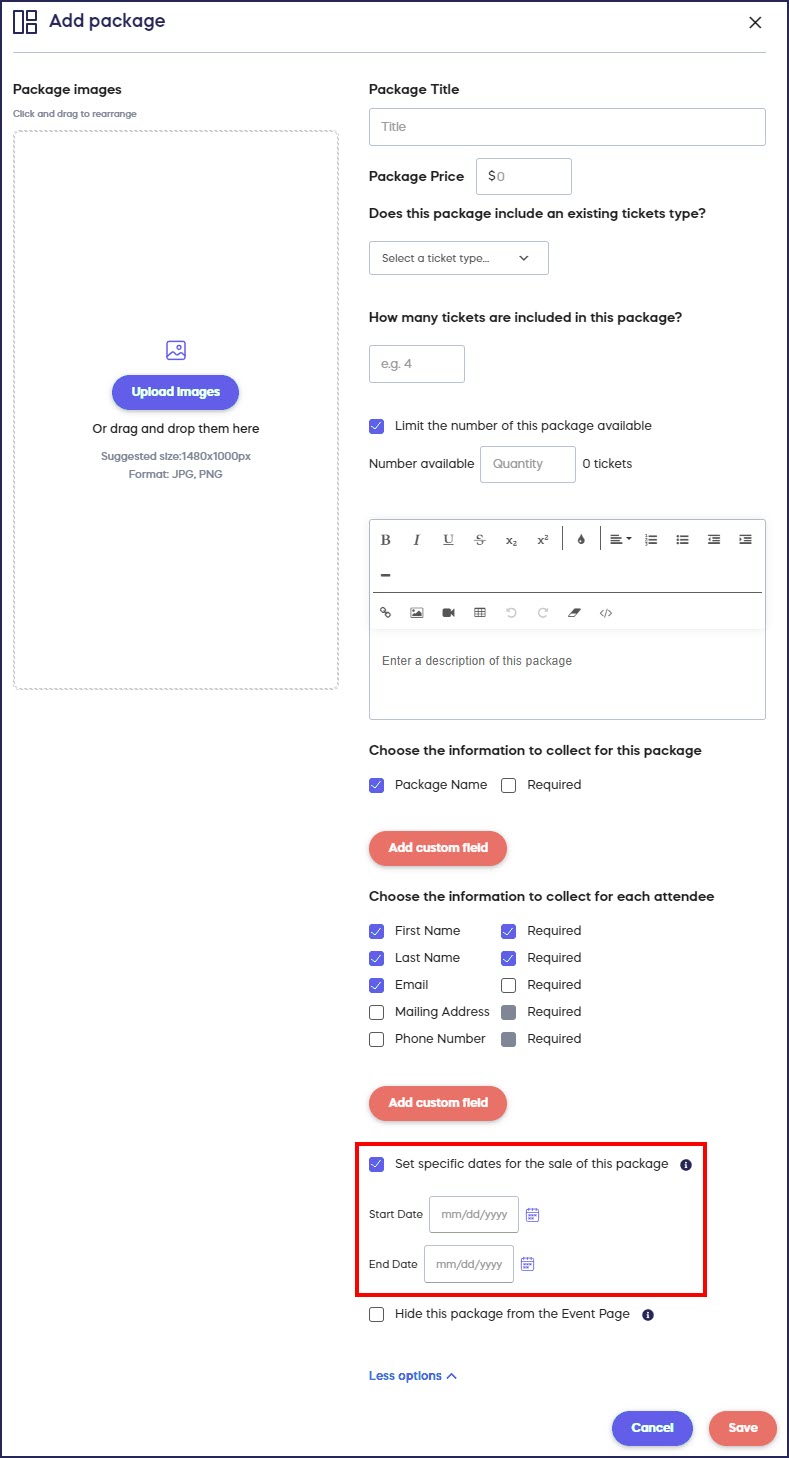
- To set a time limit, click on More Options, check the box next to Set specific dates for the sale of this package*, and choose the dates:
- Select SAVE.
Good to Know
If you're selling many kinds of tickets or packages, you can sort them into categories so donors can easily find what they want. Learn more in How-to: Sort Experience Items into Categories.
*Exact wording may differ according to Experience settings.